Printable Mobility Tracker: Set Up Your 21 Days
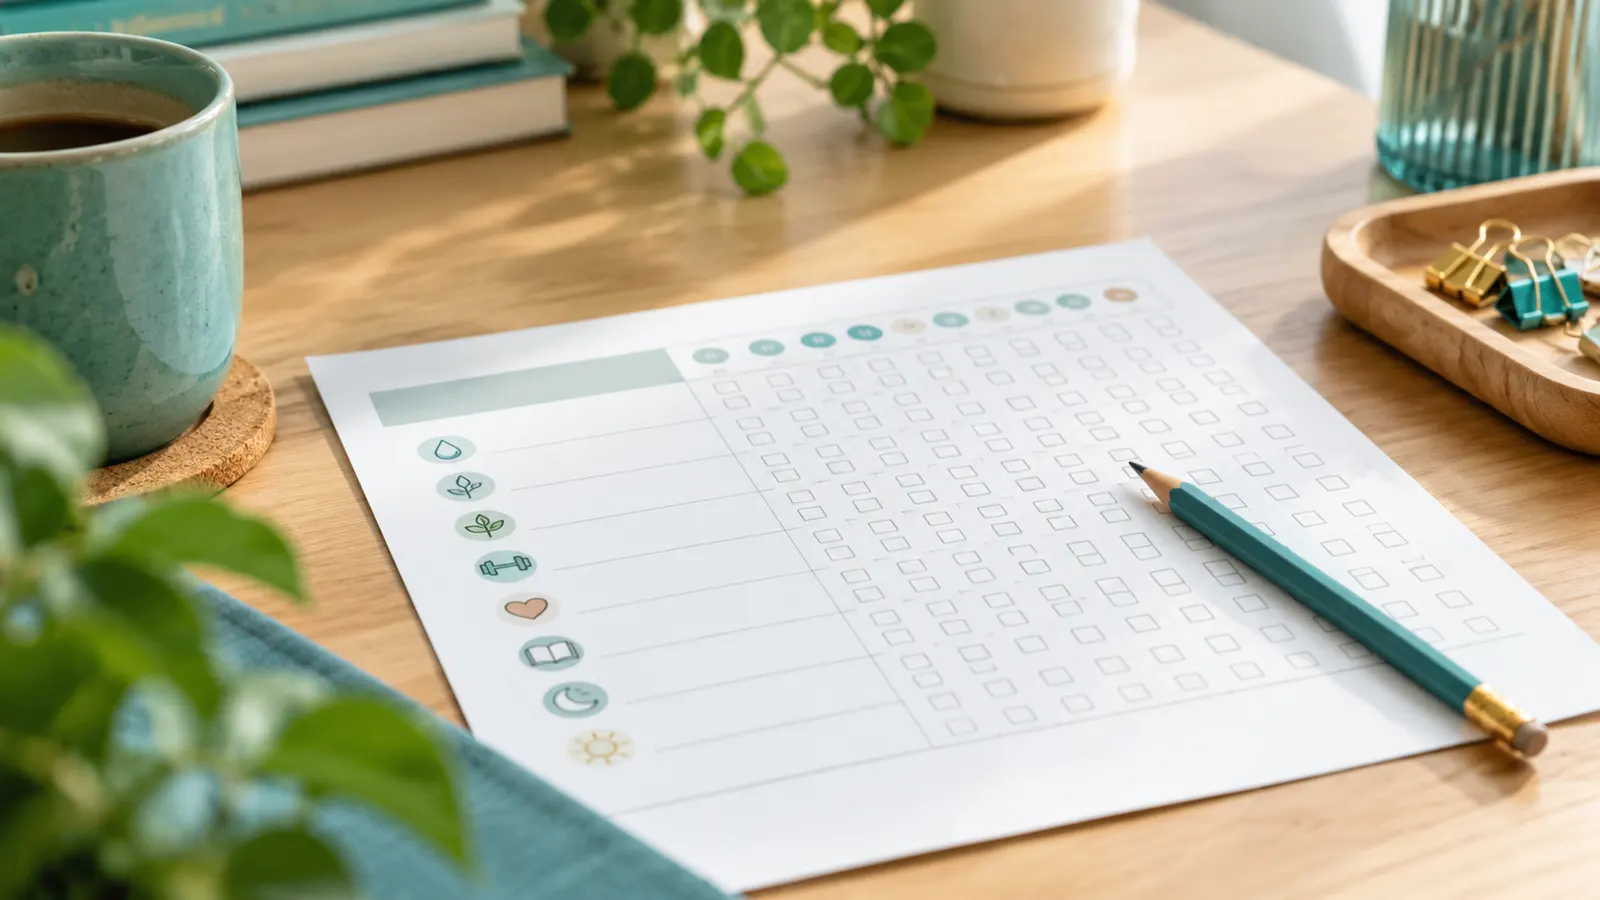
Mobility is a slow-moving thing. Because the changes are small and gradual, it is easy to feel like nothing is happening, and that feeling is the number-one reason people quit. A printable mobility tracker fixes that by turning a vague sense of effort into something you can see: a row of ticks, a few numbers and a clear before-and-after. This guide shows you how to build one, what to put on it and how to read it.
This is general exercise education, not medical advice. If you have an injury, pain or a health condition, talk to a doctor or physiotherapist, and stop anything that hurts sharply.
Why paper works
A sheet on the fridge or beside the bathroom mirror does three jobs:
- It reminds you. You see it each morning without a notification to swipe away.
- It rewards you. Ticking a box is satisfying, and a row of ticks creates a streak you do not want to break.
- It tells the truth. When you look back at three weeks, you see the real pattern, not the version your memory tells you.
Some people love apps for tracking, and that is fine. The best tracker is the one you will fill in. If you are on the fence, try paper for 21 days.
What goes on a good tracker
Keep it small. If it takes more than a minute, you will stop using it. Here is a layout that works.
The daily row (under a minute)
For each of 21 days, a single line:
- Date
- Done? A box to tick.
- Minutes (roughly)
- Stiffness, 0 to 10 (how you felt when you started)
- One-line note (for example "hips loose after lunge" or "skipped, travel")
That is five fields, and you can fill it in at the end of your session.
The weekly check (three minutes)
Once a week, on the same day, test the same three or four movements and write down the result:
- Deep squat hold: how low can you go while holding a door frame, and for how many seconds?
- Overhead reach against a wall: can your arms reach up without your ribs flaring?
- Sit-to-stand from the floor: how many hands or supports do you use?
- Trunk rotation: how far can you turn to each side, using a mark on the wall as a reference?
These are not scores. They are anchors so you can compare week one, week two and week three.
The baseline (day 1)
On day one, record what you find with no flattery. A mobility check at the start is the single most useful thing on the sheet, because without a baseline the rest means very little.
A simple 21-day layout
You can draw it in five minutes on a sheet of paper.
- Top of page: your name, start date and one sentence on what you want to feel easier ("get off the floor without help", "reach the top shelf").
- Left side: 21 rows, one per day, with the five fields above.
- Right side: a small table with the weekly check at day 1, day 8, day 15 and day 21.
- Bottom: a box for "one thing I noticed" at the end.
Stick it on a wall at eye level with a pen on a string. The easier it is to fill in, the more it will be filled in.
How to read it
After a week, look for patterns, not perfection:
- Which days did you skip, and why? If it is always Thursday, change the schedule rather than blaming yourself.
- What happens to your stiffness number? It may go up and down. Look at the trend over seven days.
- Which weekly check moves most? Often one area (hips, upper back, ankles) improves faster. That tells you where you are now.
- Do the notes mention anything repeatedly? Patterns in your own words are useful clues.
If a movement gets worse, or you notice pain, swelling or something unusual, stop that move and ask a professional.
What not to track
Skip anything that makes you anxious: body measurements, daily comparison photos or complicated points. Mobility is about how you move, not about how you look. If tracking starts to feel like pressure, simplify it.
Using a tracker with a program
A tracker pairs naturally with a structured plan. Limber 21 is a 21-day program of about 10 minutes a day, with a mobility check at the start and the same check at the end, and guided routines in a web app. A printable 21-day tracker is available as an add-on, sold separately, if you want your three weeks in one place on paper. You do not need it: the layout above gives you the same idea in a sheet you make yourself.
For a deeper look at how the three weeks are structured, see our 21 day mobility challenge guide, and for the order of moves to track, our full body mobility routine.
Making the habit stick
- Same pen, same place. Reduce friction.
- Tick before you finish. Tick the box the moment the session ends. Do not wait until later.
- Celebrate week ends. After each seven days, do something small and enjoyable.
- Forgive gaps. If you miss a day, write "skipped" without drama and carry on.
- Share it. Showing the sheet to a friend or partner adds gentle accountability.
What happens after day 21
On day 21, compare the sheet with your day-1 baseline. Write three sentences: what changed, what did not, and what you want next. Then decide: repeat the plan, focus on one body area or extend the habit with shorter sessions. Keep the filled-in sheet. In six months, it will be a nice reminder of what you did.
A tracker is a small tool with a large effect. Print or draw one tonight, write today's date on row one, and do your ten minutes tomorrow.